
Grilled Oysters with Homemade Breadcrumbs
On long, golden nights in August, there is no greater pleasure than eating fresh seafood en plein air. These grilled oysters—a surefire crowd-pleaser, even for your friends who think they don’t like oysters—are made with just a few simple ingredients and can be cooked entirely outdoors, on the grill, or prepped inside on a burner and finished on the grill, a la minute. Start with the biggest, saltiest oysters you can find locally (perhaps Wellfleets or Blue Points on the east coast, or Totten Inlets on the west coast), a good, sturdy loaf of stale bread, and you’re well on your way to a successful summery cookout.
All about the breadcrumbs.
I volunteered to make grilled oysters at a recent beachside gathering on Cape Cod, and when I discovered that the food processor in the rental house didn’t work, I took to essentially mincing the bread by hand. The resulting crumbs were surprisingly delightful—rustic and buttery, they formed a craggy, golden-brown mound on top of our salty Wellfleet oysters.The key is this: grill the bread first to develop some flavor and dry it out, then chop, chop, chop until you have a pile of rough, rugged crumbs. Short on time? Use a food processor (or even start with a food processor and then finish chopping by hand) or just buy some breadcrumbs at the store. If you do, start the recipe at step three and proceed as normal.
Time: 30ish minutes, plus time to shuck
Serves: 4–6
Drink: Champagne!
1. Grill bread
Cut your bread into one-inch slices and brush with olive oil. Grill the bread (or fry in a cast-iron skillet) over medium-high heat until deep brown and crispy, about five minutes on each side. If you’re working with fresh bread instead of stale, follow with a ten-minute stint in a 350-degree oven to further dry it out.
Set aside and let cool.
2. Make breadcrumbs
With a sturdy chef’s knife, cut your bread into cubes, then chop, chop, chop to make rustic breadcrumbs. It’ll probably take you 10 or 15 minutes—patience, Iago.
If you’re short on time (or energy), just toss the bread into a food processor and pulse for a few minutes. This will create more uniform crumbs and is certainly easier, though I liked the rustic texture of the hand-made crumbs. You can also use store-bought breadcrumbs if you prefer.
3. Toast and season breadcrumbs
Melt two tablespoons of butter in a skillet over the grill or on a burner over medium-high heat. Add garlic and shallots and cook for 2 or 3 minutes, until fragrant and soft. Add the breadcrumbs, salt and pepper, and chopped parsley. Toss frequently until the whole mess is golden-brown and smells like heaven. Season with more salt and pepper to taste.
Set aside and let cool. Steps 1–3 can be done up to five days in advance. Reserve breadcrumbs in a Ziploc or Tupperware at room temp.
4. Assemble oysters; cut up lemon wedges
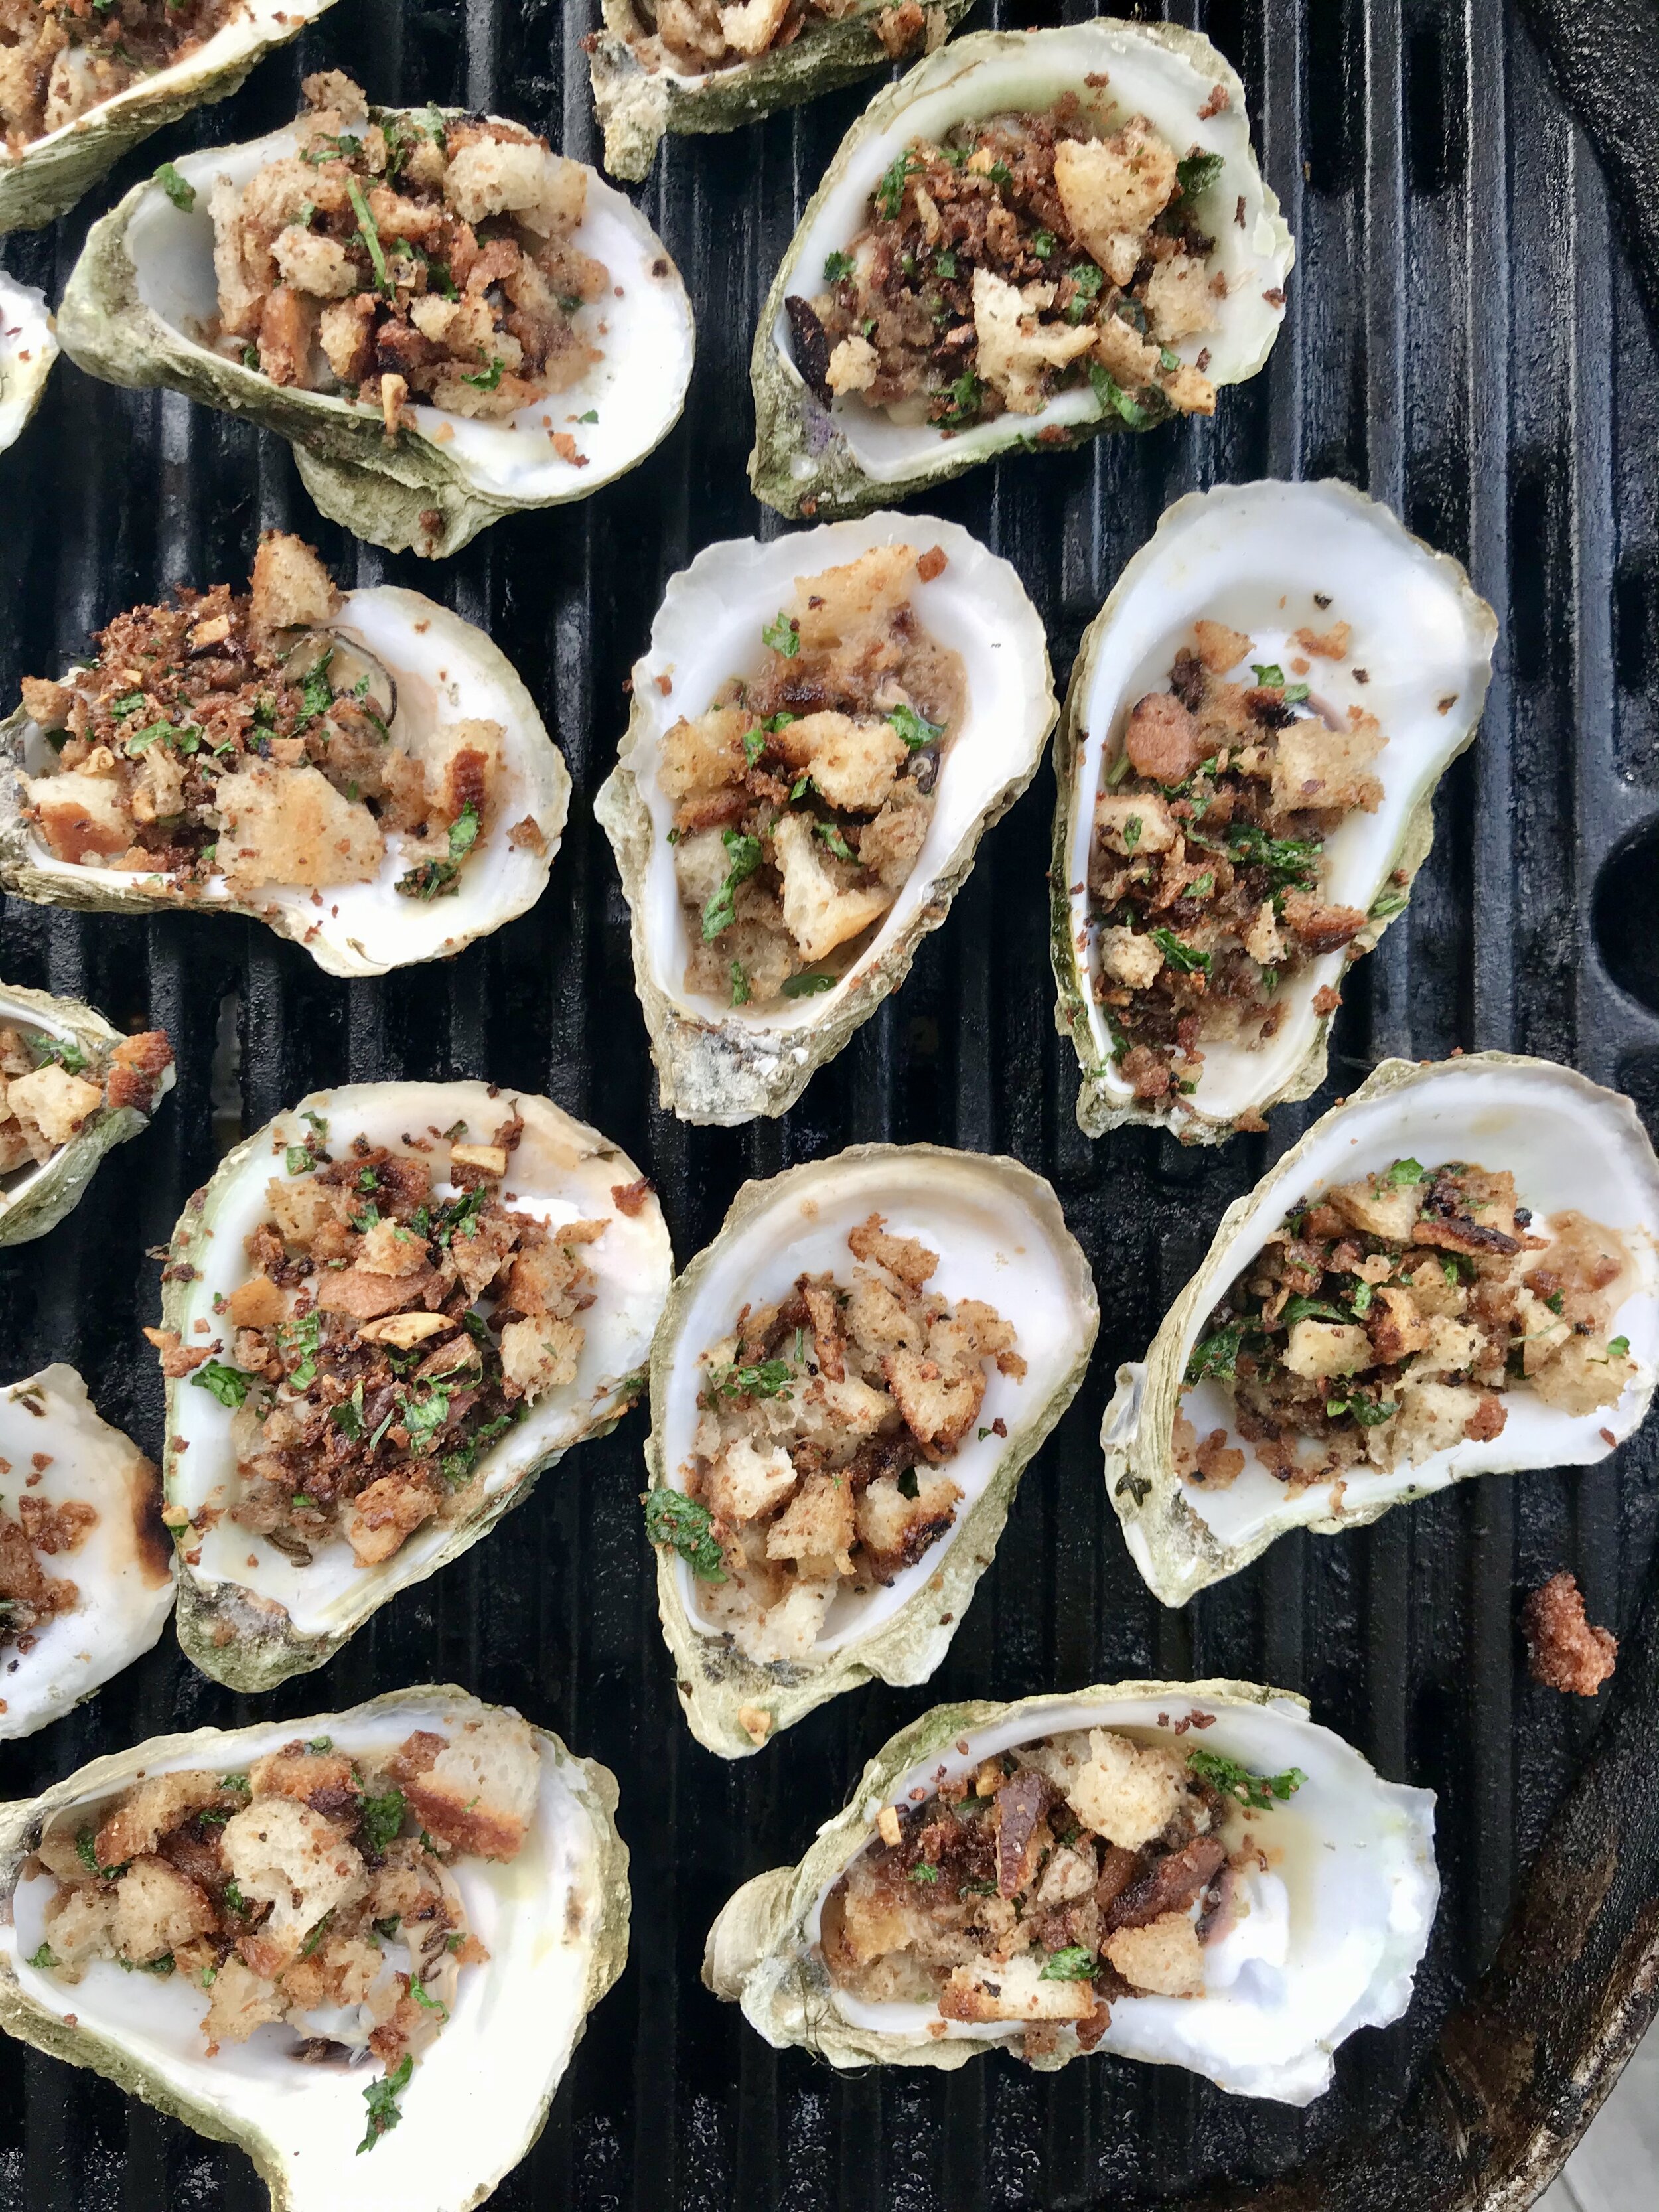
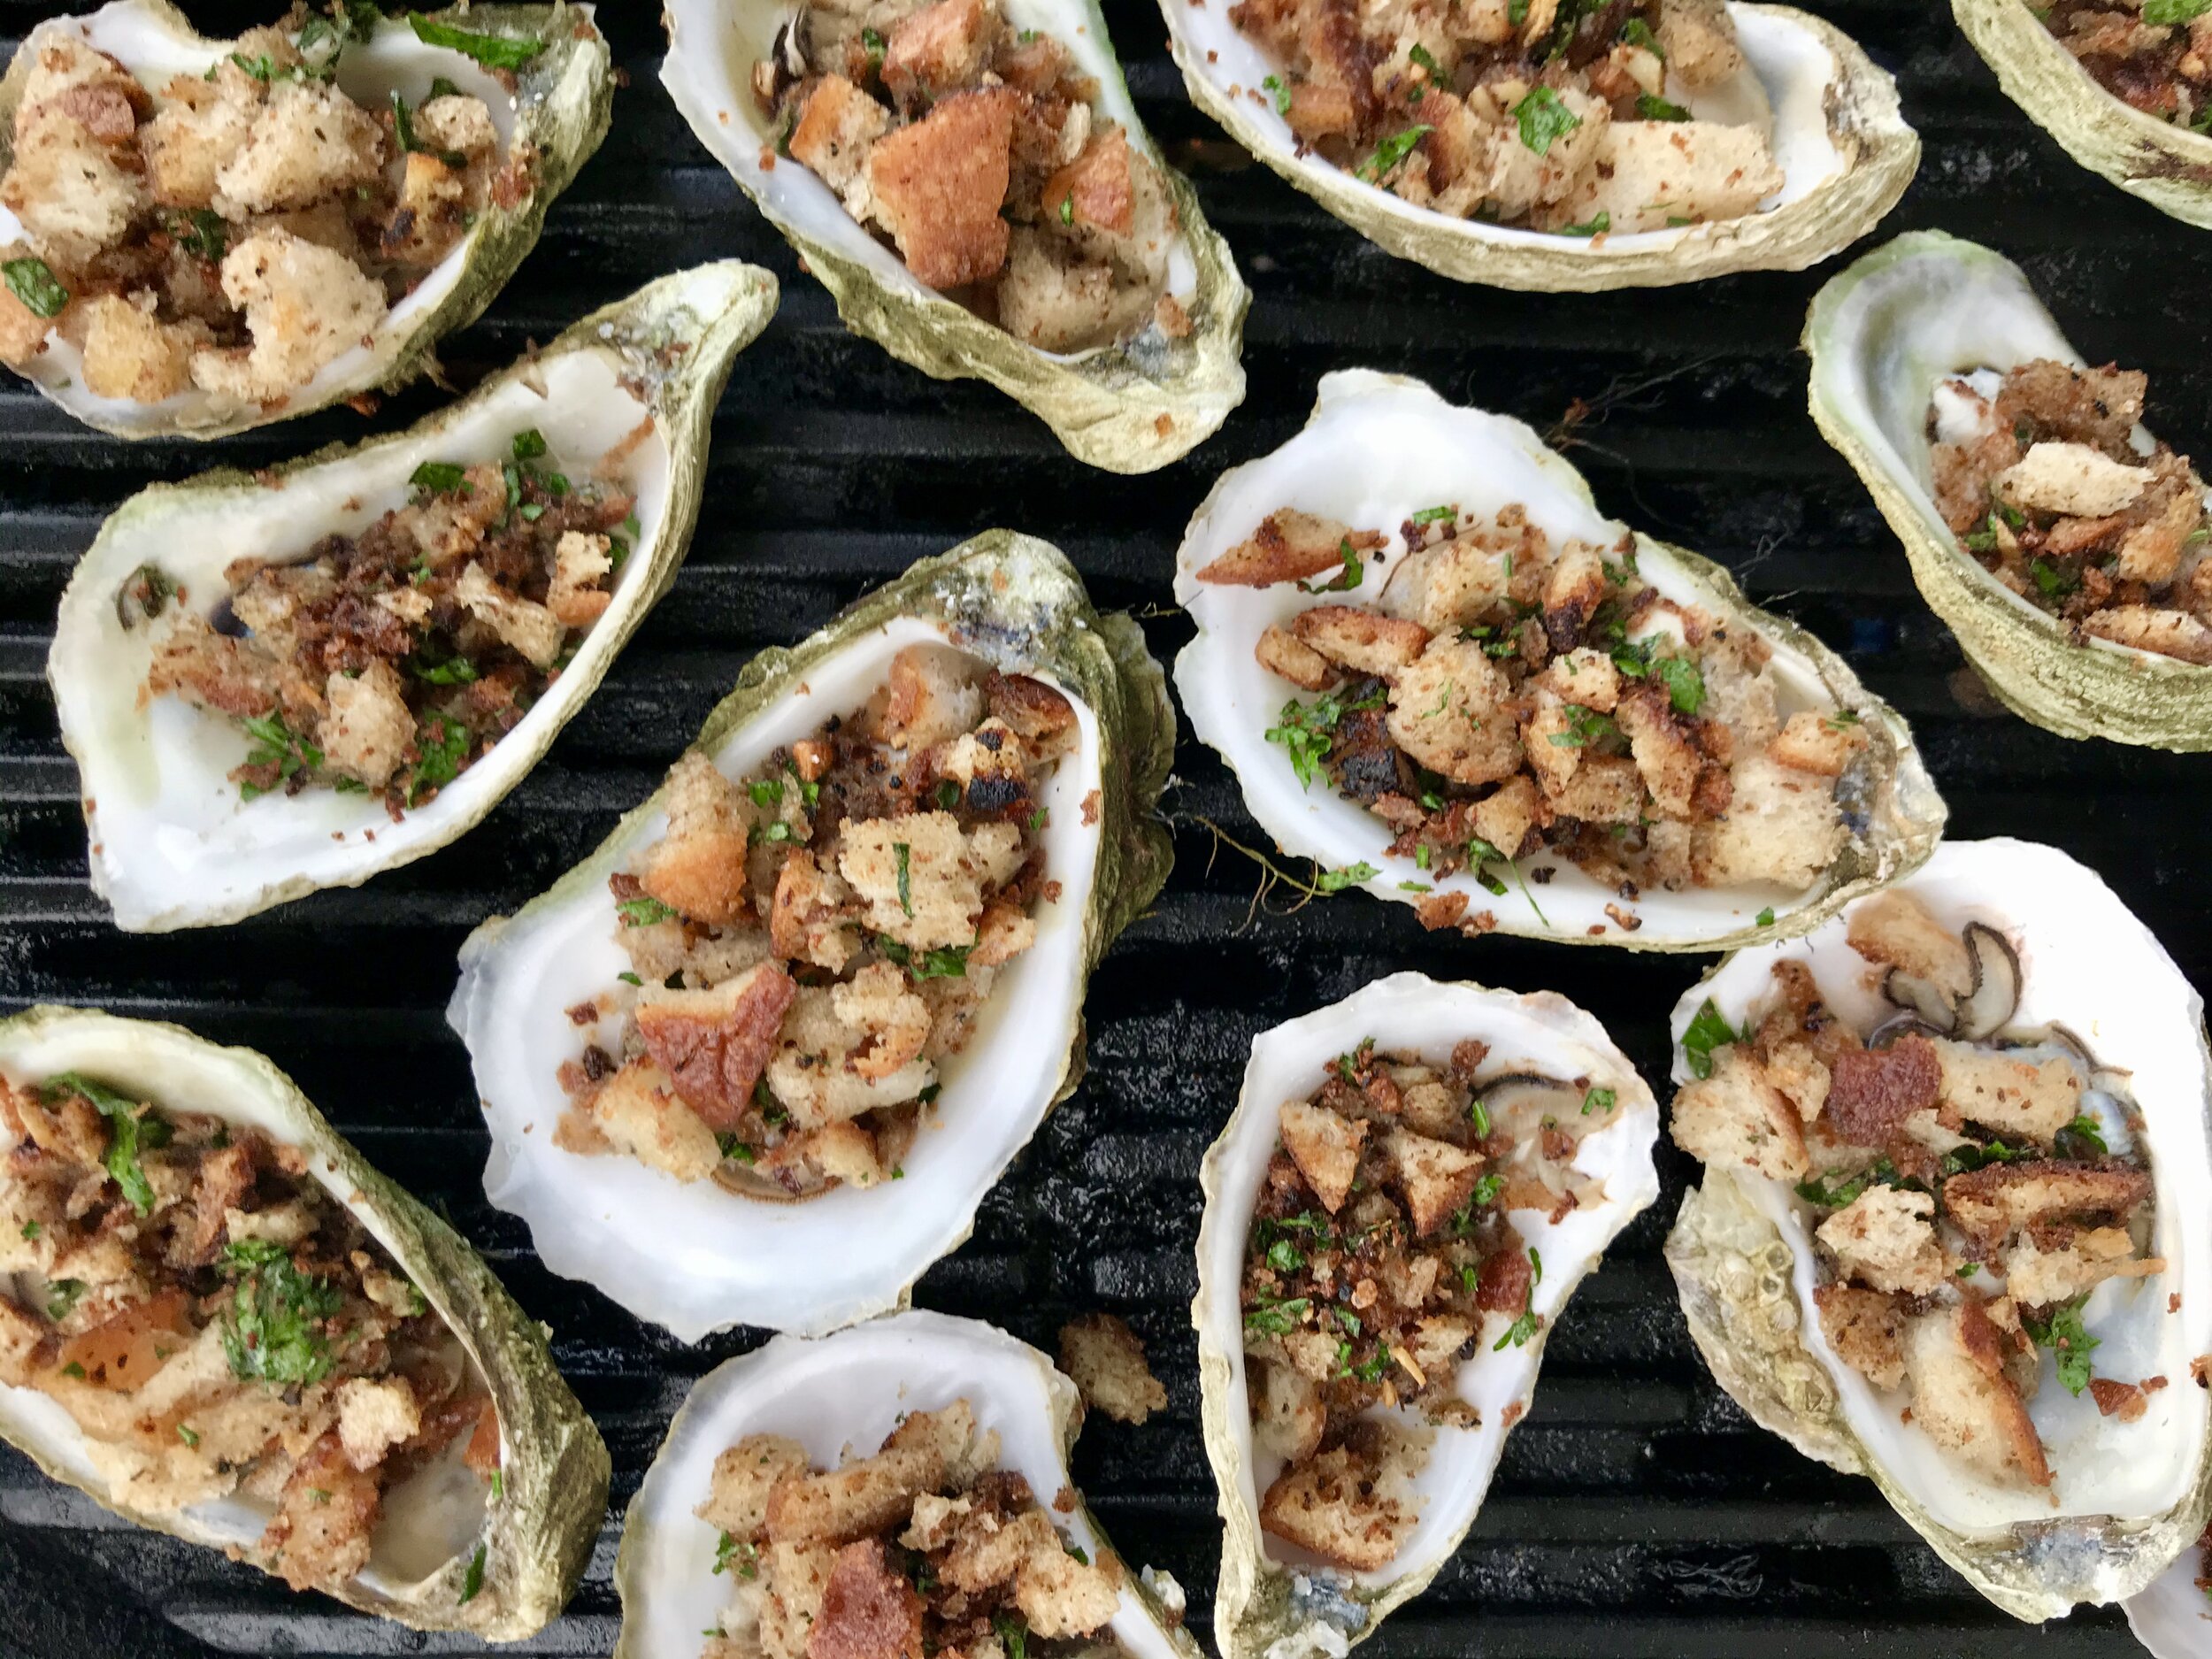
Drain out most of the extra liquor from your shucked oysters. You want them to be moist, but not drowning in liquor. Arrange oysters on a tray, and cover each one with a spoonful of the toasted breadcrumbs.
Cut up some lemon wedges and set aside.
NOTE: If you’re not into wasting that precious oyster liquor, there are plenty of good uses for it! Add it to seafood stock, use it to deglaze a pan, or mix it into a Bloody Mary.
5. Grill ’em up
Place oysters shell-side down (obv) on your grill. Close the lid and cook for 8–10 minutes, or until the liquid under the breadcrumbs starts to bubble. (You don’t need to stress too much about over- or under-cooking; this is pretty forgiving.)
If you don’t have a grill, you can broil them on a baking sheet instead, about 5 minutes.
Remove oysters with tongs and set on a tray.
6. Squeeze fresh lemons over the top, eat!
They’ll be rippin’ hot when they’re first off the grill, so give them a couple minutes to cool off. Then, squeeze some fresh lemon juice over all the oysters and serve with more lemon wedges to use as needed. Eat up!


Um, excuse me?
Can I just use grocery-store breadcrumbs?
Totally. If you buy pre-made breadcrumbs, just start at step 3 and carry on.
How do I shuck oysters?
It’s tricky, but pretty fun. Use an oyster knife if you can find one, and be sure to wear sturdy gloves and/or a folded towel to protect your hands and wrists—shucking can be a bloody business if you’re not careful. (It’s also very messy—work outside if you can, and wear an apron or clothes you don’t mind getting dirty.) Here’s a video tutorial that we helped make at ChefSteps.
Also! You can always ask the fish monger to do it for you. Just make sure to keep them on ice and eat within the hour, if possible.
What kind of oysters should I use?
This recipe works best with big, salty oysters. Variants on the Virginica oyster, which is native to the east coast, are a great place to start. Try Wellfleets (from Cape Cod), Totten Inlets (from the Puget Sound), or Blue Points (from Long Island Sound). Other, smaller oysters will work, too (though maybe you should eat those raw?)—you may just end up with extra topping.
Can I use clams?
Yes! Again, big salty ones will work best. Perhaps Quahogs (from Rhode Island) or Manila clams (more prominent on the west coast).
How do I know when my oysters are done?
You’ll know they’re about ready when the the liquid underneath the breadcrumbs (a mixture of oyster liquor and melted butter) is boiling. See our Instagram post for visual guidance.
What should I do with my oyster shells?
Oyster shells can be composted; reserve in the freezer until they’re ready to be used or picked up, so they don’t stink up your house. If you have a garden at home, they’re a good source of calcium for your plants—they can be crushed up with a hammer and added to soil. If you’re a crafty mfer, toss them in a bucket of water with some bleach to turn them bright-white, and use in your home decor. Wee!
Other summery cookout recipes?
You betchya.


